I did this course partly because I’ve admired both woodcut prints and prints with chîne collé by others, including Jo Bourne who was teaching the course. Also, as these can be done without a printing press, I thought it would be useful to learn about them before winter ice means Ineed to make prints at home.
The other people on the course were lovely, and we had the company at breaks of the screenprinting on textiles course people & their tutor Jan Baxandall, which was enjoyable.
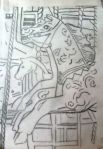
I had found this the most difficult workshop so far for which to prepare images beforehand that could be suitable to turn into woodcuts. It’s a method that requires thinking in areas of colour and a graphic, stylised image can work best. I took several images and asked Jo for advice on which to try.
I was rather slow on cutting my plate, but eventually got as far as printing it before the end of day 1. The press we used was a splendid 1866 one.
On the 2nd day, I decided to try a different image. This meant I didn’t have time to do a 2nd plate to print in 2 colours + more colours in chîne collé but I think it worked much better as a woodcut image. The mouth of the Ouseburn one was a bit too fiddly for the scale (A5) but could work well on a larger plate, and I might still try cutting into it a bit more and adding a second block.
-
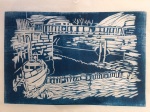
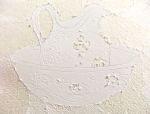
- Mouth of the Ouseburn – 1st print from the woodcut.
-

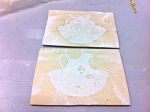
- Mouth of the Ouseburn, woodcut on Kozo paper with chîne collé in pink and blue Korean paper.
-
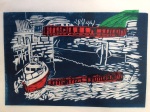
- Mouth of the Ouseburn woodcut with red and green chîne collé in tissue paper
-
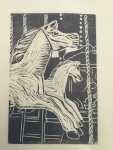
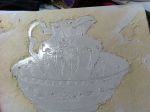
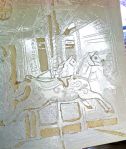
- Carousel horse, 1st print on Kozo paper in a dark grey ink.
-
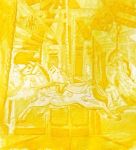
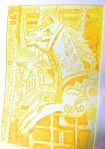
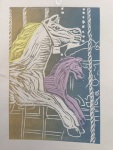
- Carousel horse with chîne collé in pink Korean paper and yellow tissue paper.
-
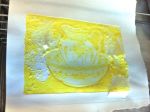
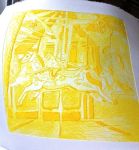
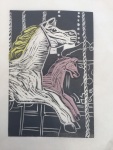
- Carousel horse with blue and ochre ink, chîne collé in yellow tissue & pink Korean paper.
-
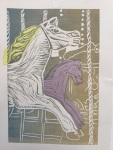
- Carousel horse in ochre & blue ink, chîne collé in yellow tissue & pink Korean paper.
-
- Carousel horse in blue & ochre ink, chîne collé in yellow & black with holographic dots tissue paper.
-
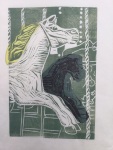
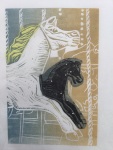
- Carousel horse in green ink, chîne collé in yellow tissue and black tissue with holographic dots tissue paper.
At the end of the course, I concluded that it had been a great way to spend a weekend, that I had more prints than I expected, that I rather liked all my prints, that I really liked everyone else’s prints (the textiles printing also turned out well on the other course). And I concluded that I need to buy some cutting tools, some non-slip mat, a proper roller, clear space to have a worktop at home I can roll ink on, and buy some oil-based printing ink and more Japanese ply.
I could do with 10 times as much energy and time to put into practice all that I’ve learned about printmaking this year!