Part of the workspace.
I didn’t pause to take many photos as I was printing this time.
It had taken me till lunchtime just to set up everything, decide which plates to print, tear the paper to size, decide on what colours to use, undo the caps on the ink tubes and try not to lose them whilst squeezing a little ink out, mixing the ink.
I had got my guidelines (drawn on newspaper) under the acetate on the press’s bed before I realised that I’d forgotten one important set of lines.
Finally, I tried printing.
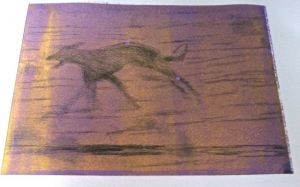
-
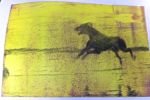
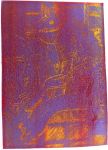
- Running dog (viscosity print).
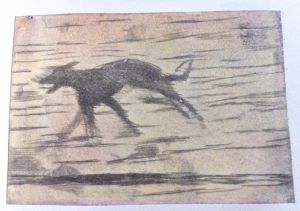
-
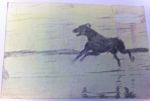
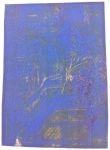
- Running dog (ghost viscosity print).
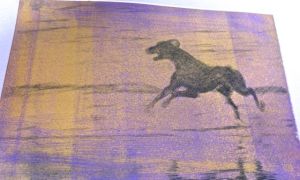
-
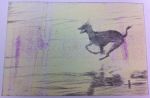
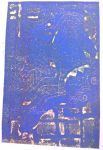
- Running dog (ghost viscosity print).
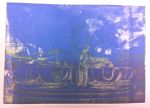
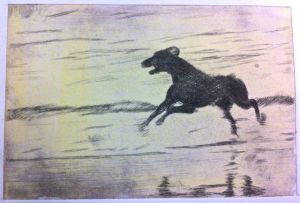
This was not working as I had hoped. After lunch, I sought Helen’s advice. She suggested that the plate didn’t have enough depth, and tried thinner layers of ink, after checking that I had my inks in the right states of viscosity. She pointed out that the fact I was scarcely able to get any of the top (lilac) layer of ink on meant that I had proved that the inks were working as they should, with the yellow repelling and not blending with the lilac.
After that, I decided to have a quick go at printing on top of the previous week’s failed prints to see if i could improve them. The results are slightly better but still need more work.
I was frustrated and would have been a lot more despondent by the end of the day if the Northern Print staff hadn’t been sympathetic, reminded me that it’s all part of the learning process – and made me laugh. I do enjoy my days there.
Now if I could just get the prints right… I am thinking about how to make the next plate, and what subject to try.